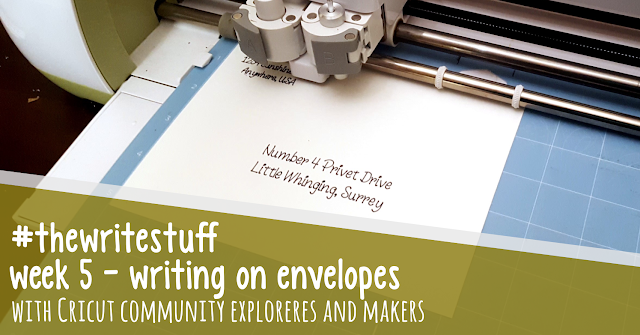
The Write Stuff Challenge - Week 5 - Envelopes
Welcome back for week 5 of our Cricut Drawing Challenge!
This week we are focusing on Envelopes.
[Affiliate links * to retailer sites are shown inline and in the sidebar of this post and are provided for your convenience at no additional cost to you]
This week, I wanted to share a few tips for writing on pre-made envelopes. Since we are not cutting anything with the blade, the most challenging part of this project is making sure that everything is centered properly. I think the easiest way to cover this topic is to walk you though my process so let's get started!
First, add a square shape to your drawing.
Change the size of the square to the size of your envelope by unlocking it and editing the dimensions.
A typical 5x7 envelope is 7.25 inches wide by 5.25 inches tall.
Change the line-type of the rectangle to "Score". This will help insure that you don't accidentally cut your envelope.
Make a copy of the rectangle
Change the dimensions of the copy to be 1/2" smaller in each direction (in this case 6.75x4.75).
Select both rectangles and center them together.
Add the name of your recipient in a text box.
Change the font. You can filter fonts by selecting filter and choosing "Writing Style". This lets you see which fonts can be written using the center line rather than an outline. You are limited to Cricut fonts when choosing writing styles. For this project, I am choosing the font "Merlot" It has a writing style and a regular style that are both very pretty.
When you change the font, you will notice that the spacing between the letters is really terrible.
We can fix that a little by changing the letter spacing to -0.7, but it still wont be perfect. You can see that the ci letter pair is touching and so is the ie. That's good, but we still need to move individual letters to make everything look correct.
To do that, with the recipients name selected, click advanced, then ungroup to letters
Now, we can move the letters individually to get them in the right locations.
After you have all of the letters aligned the way you want, make sure you select all of them and attach them together. This will let you move the whole name as one piece later.
Now we can move the name onto the envelope and resize it.
I like the recipient's name to be centered on the envelope. You can do this with the alignment tools.
Now you can add the address lines. I changed the font for the address line to "Brandon". I also changed the font spacing to 1.5 and changed the text alignment to "Center". After I made those changes, I resized the text to fit well below the recipients name.
Then, I duplicated the address text box, added the information for the sender, and resized the text to fit in the top corner of the envelope. It's a good idea to keep the text inside the inner rectangle.
Once you have everything aligned the way you want it, select everything and attach them to each other.
Find the outer rectangle in your layers panel and turn it off
Now you are ready to send your project to the mat. When you position your envelope on the mat, you will line it up with the zero mark.
After you select you machine and load your mat, Design Space will prompt you to inset the scoring stylus or scoring wheel (depending on whether you are using Maker or Explore). Leave the stylus out (don't load your pen!) and hit the go button on your machine.
When Design Space prompts you to insert the black pen, place it in your machine and it will begin to fill out the address information.
That's all! If you would like to utilize my pre-made template (with a fun bonus example of how to fill in outline text), you can find my Cricut Community File by clicking the link* below. Thanks for stopping by!


Comments
Post a Comment